Getting Started
Contents
Installing Ultibo core
Starting embedded programming can sometimes involve many hours of work before you get to write even a single line of code, Ultibo core takes the pain out of getting started by packaging everything you need in a simple downloadable installer for Windows.
The installer includes the Free Pascal compiler, Lazarus IDE and the Ultibo core source all configured and ready to start creating applications. Get the Ultibo core installer from the download page and save it to a temporary location on your computer.
Ultibo core is quite safe to install on any Windows computer, nothing other than the items above is installed and everything is contained in a single folder (normally C:\Ultibo\Core). Even if you already have either Lazarus or Free Pascal installed, they will not be affected because Ultibo core installs into a different folder and keeps its settings separately from the official FPC and Lazarus installations. If you decide later that it's not for you then you can simply uninstall and everything will be removed.
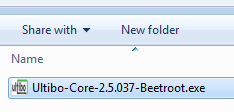
When you're ready to get started double click on the Ultibo core installer file you downloaded and select the language for the installation when prompted.
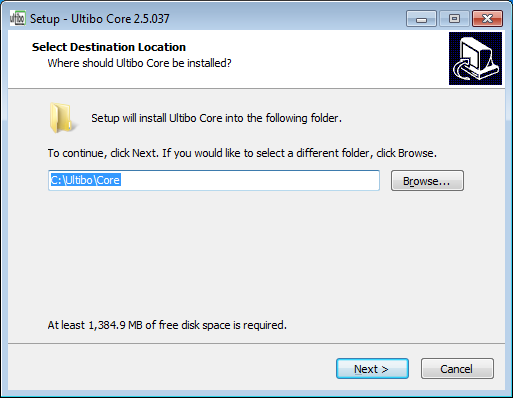
The installer will ask you where to install Ultibo core, by default this will be C:\Ultibo\Core but you can select a different folder if that suits you.
Note: Due to a limitation in the compiler you cannot select a path with spaces in it like C:\Program Files\Ultibo.
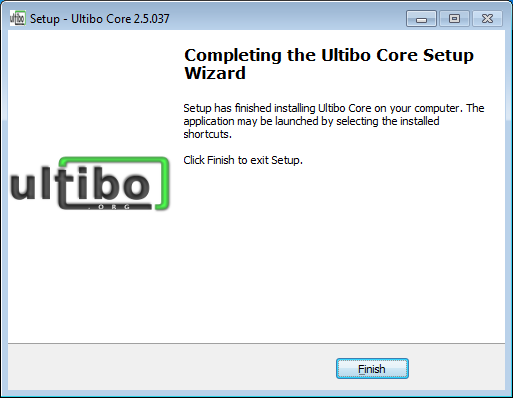
After a couple of other questions the installer will proceed to copy all of the necessary files to the folder you selected and configure the installation, when it is completed you will see a dialog like the one below. If everything was successful you can select finish and get on with creating your first application.
Introduction to Lazarus
Lazarus is an IDE or integrated development environment, the first thing it provides is a source code editor with syntax highlighting, auto indentation and auto completion. But it also offers many more advanced features like code completion, parameter preview, single click navigation and integrated error highlighting during compiling. You can learn more about Lazarus and the many ways it can make coding quicker by visiting the documentation or through the built in help.
Open Lazarus IDE by selecting the icon in the start menu.
At the top of the screen you will find the Lazarus main bar, this contains all of the menu options to open, save and close projects and files and gives you access to a whole range of options to customize what you see on screen. The main bar also contains a toolbar with some commonly used options, you can add others by right clicking and selecting options.
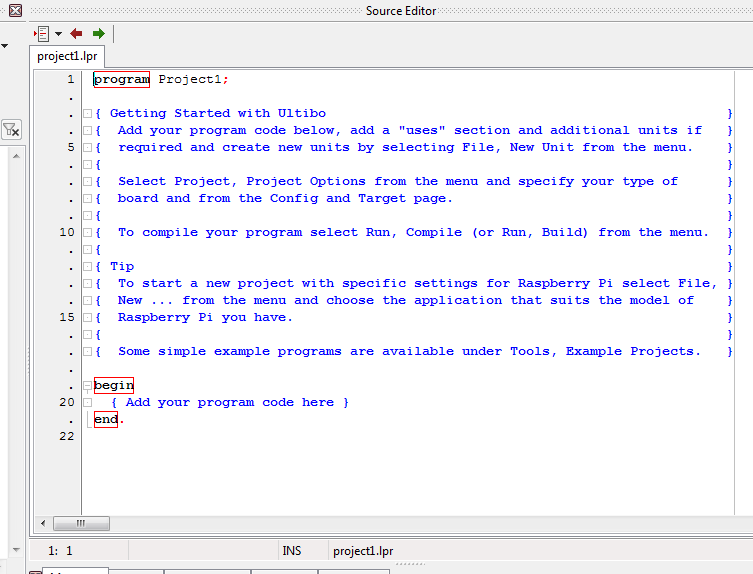
Below the main bar is the source editor, this is where you edit your code to create your application. The source editor can have multiple tabs each with a different file open so you can quickly navigate between the units in your program.
Starting a new project
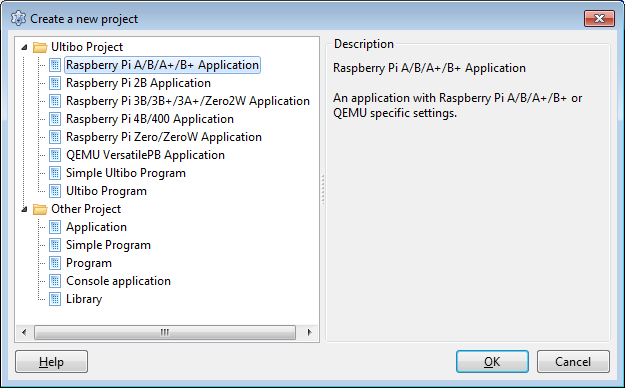
Enough with the introduction, let's make something! First step is to start a new project by selecting Project, New Project ... in the Lazarus menu.
We've defined some basic project templates to make it simple to start a new project, there isn't much difference between except the options that have been chosen. Select the one that suits the type of Raspberry Pi you have available.
Hint: To find the difference between a Raspberry Pi project and a Raspberry Pi 2 project, have a look under Project, Project Options ..., Config and Target in the menu.
The Hello World example
Creating a new project probably left you with a source editor window in Lazarus
Compiling the project
Making a bootable SD card
Testing your project
